
DIY Tips & Tutorials
How to Winterize Outdoor Faucets and Hose Bibs
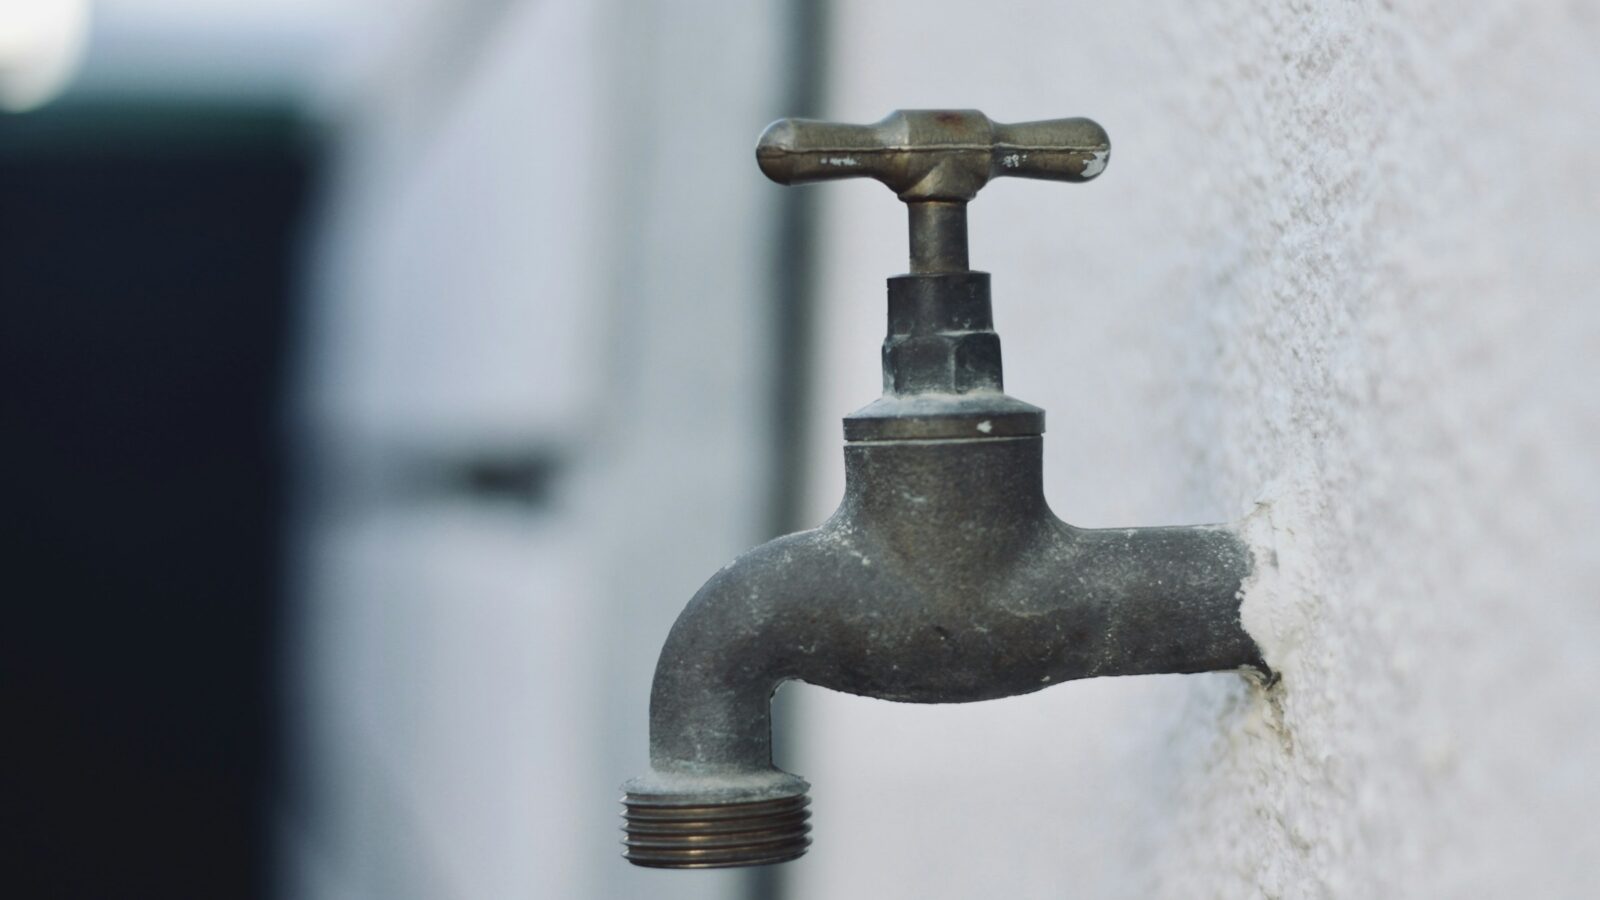
A frozen outdoor faucet is one of the most common and most avoidable winter plumbing problems in St. Louis. When water trapped in a hose bib or the pipe feeding it freezes, it expands and can split the pipe inside your wall or basement ceiling. Often nobody notices until spring, when the hose is turned on and water pours into the basement. Winterizing takes a few minutes per faucet, and the best time to do it is in the fall, before the first hard freeze. In the St. Louis area, the first freezing nights often arrive sometime in late October or November, so plan to have this done by early November at the latest.
Difficulty: Easy · Time: 15 to 30 minutes per faucet
Tools and materials
- Insulated faucet covers (foam domes) for each outdoor spigot
- A flashlight
- A bucket and a towel
- Pipe insulation sleeves for exposed pipes in unheated spaces
- Adjustable wrench (for drain caps on shutoff valves)
- Optional: a garden hose storage reel or hook
Know which type of faucet you have
Frost-free sillcocks have a long stem that puts the actual shutoff valve 6 to 12 inches or more inside the heated part of the house. When you close the handle, the water stops inside, and the remaining water in the barrel should drain out the spout. Many homes built or re-plumbed in the last few decades have these. A quick way to tell: the handle sits perpendicular to the wall and the faucet body looks longer, or you can see a long pipe running inside from the basement.
Standard hose bibs have the valve right at the outside wall. The water sits in the pipe up to the outside wall, so these need an indoor shutoff valve closed and the line drained every fall. Older St. Louis homes often have this style.
Step-by-step
- Disconnect every hose. This is the most important step, even for frost-free faucets. A hose left attached traps water in the frost-free barrel, so it can’t drain, and it freezes and splits the pipe inside the wall. Remove hoses, splitters, timers and quick-connect fittings. Drain the hoses and store them in the garage or basement.
- Check frost-free faucets for proper drainage. Turn the faucet on briefly, then shut it off and watch: water should run out of the spout for a few seconds and then stop. If water keeps dripping for a long time, the valve washer may be worn.
- Check the pitch. A frost-free sillcock must slope slightly downward toward the outside so the barrel drains. If you can see the pipe in the basement, it should angle down toward the exterior wall. If it slopes back toward the house, water sits in the barrel and freezes. That’s worth correcting before winter.
- Shut off and drain standard hose bibs. Find the indoor shutoff valve for each outdoor faucet, usually in the basement ceiling or a crawlspace near where the pipe exits the house. Close it fully. Then open the outdoor faucet to let water drain out. Many of these valves have a small drain cap on the side: put a bucket under it, loosen the cap, and let the trapped water drain. Leave the outside faucet open all winter so any remaining water has room to expand. Retighten the drain cap.
- Install insulated covers. Fit a foam cover over each faucet and tighten the loop or strap so it seals against the siding. Covers add a layer of protection but don’t replace the steps above.
- Insulate exposed pipes. Pipes running through unheated crawlspaces, garages or rim joists near the outside wall can freeze too. Add foam pipe insulation, and seal drafty gaps where pipes go through the rim joist with caulk or foam.
- Take care of irrigation systems. Lawn sprinkler systems need to be shut off at their own valve and blown out with compressed air to clear water from the lines and heads. Many homeowners hire their irrigation company for this, since too much air pressure can damage components. At minimum, shut off the system’s water supply and drain the backflow preventer per the manufacturer’s instructions.
In spring: check for a hidden burst pipe
A frost-free sillcock that froze over the winter usually splits inside the wall, not outside, so it can look perfectly fine. The first time you use it in spring, have someone watch the basement or the wall behind the faucet while you turn it on with a hose attached. Signs of a burst pipe include:
- Water dripping or spraying in the basement, crawlspace or inside the wall
- Low or no water flow out of the hose even though the faucet is open
- Water seeping out around the faucet flange on the siding
- New water stains on the basement ceiling or wall near the faucet
If you see any of these, shut off the water right away at the faucet’s shutoff valve or the main, and call a plumber.
Mistakes to avoid
- Leaving the hose on. This is the number one cause of split frost-free sillcocks.
- Closing the indoor shutoff but leaving the outdoor faucet closed. Trapped water between the two valves still freezes.
- Relying on a foam cover alone for a standard hose bib on a cold night. It helps, but it’s not a substitute for shutting off and draining.
- Forgetting the faucet on the far side of the house or behind the deck. Make a list and check them all.
When to call a pro
Call a plumber if your outdoor faucet has no indoor shutoff, the sillcock is pitched the wrong way, or you already had a frozen pipe. Replacing a hose bib with a properly installed frost-free sillcock is a relatively small job that prevents a recurring problem. Water damage from a split pipe is another matter. If a leak has already soaked drywall, flooring or framing, RossBuilt can handle the repairs, from basement interior remodeling to replacing water-damaged flooring. And while you’re walking around the house, check for gaps around the pipe penetrations and trim, since sealing them is part of keeping your exterior tight for winter.
Rather have it done for you? RossBuilt Construction serves the St. Louis metro. Request a free estimate or call 636-380-2574.