
DIY Tips & Tutorials
How to Clean and Seal a Wood Deck the Right Way
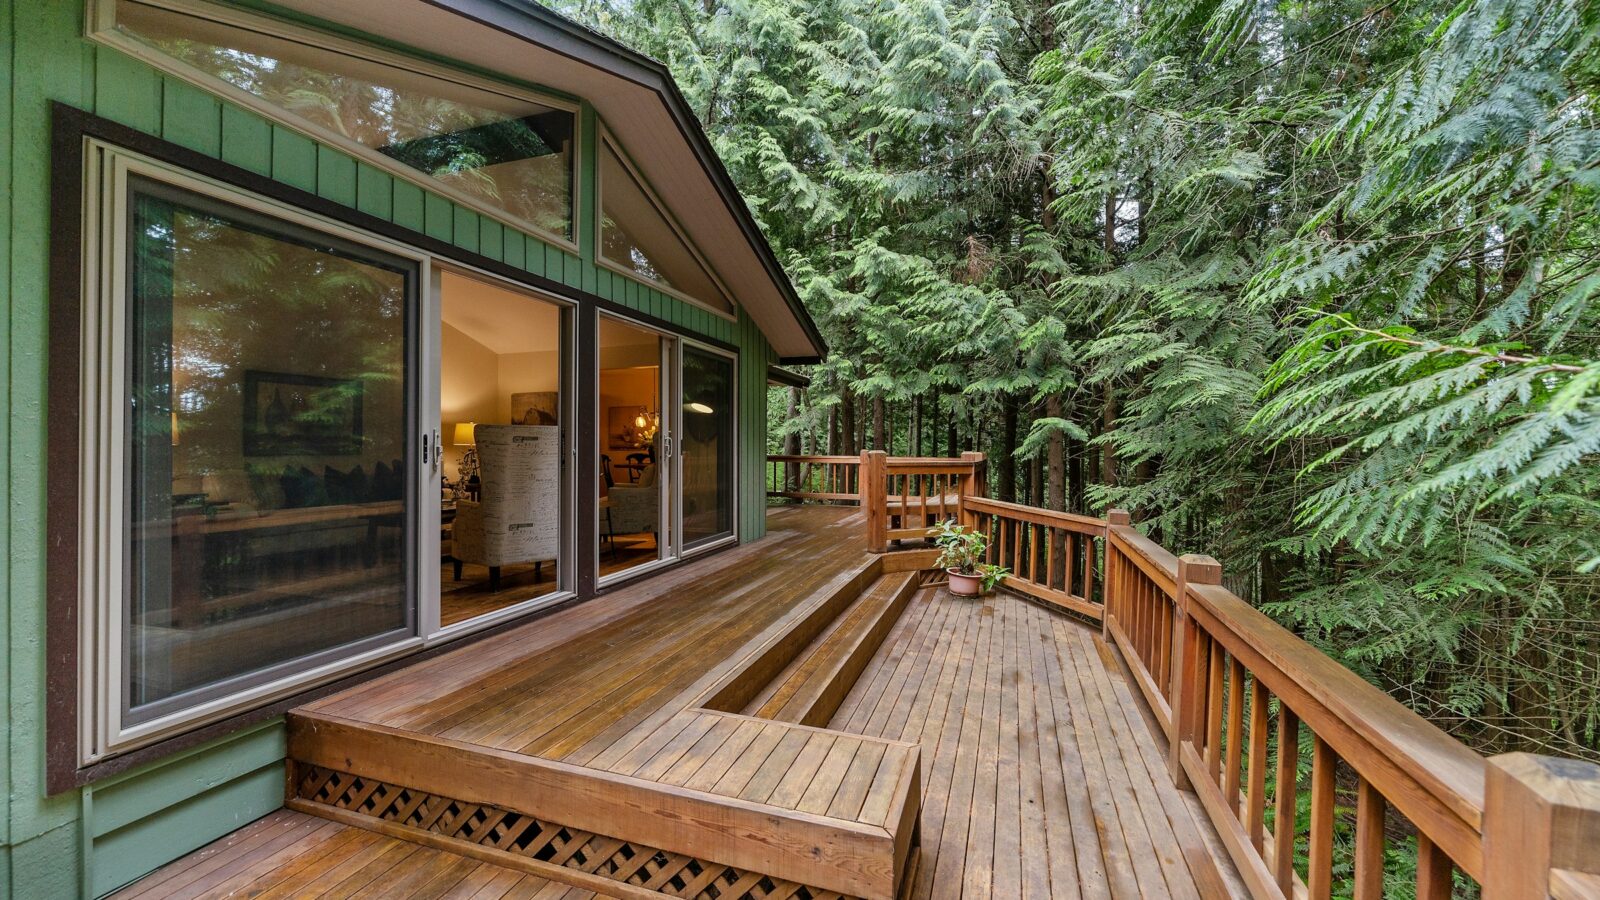
A wood deck in St. Louis takes a beating: summer sun that bakes the boards, humid stretches that feed mildew, and winters that freeze and thaw the same wet wood dozens of times. Cleaning and sealing every two to three years is the single best thing you can do to keep the boards from graying, cracking and rotting early. It’s a weekend project for most homeowners, and it starts with a careful look at whether the deck is safe to work on at all.
Difficulty: Beginner to intermediate · Time: 2–3 days, including drying time
Tools and materials
- Screwdriver or awl for probing wood
- Drill/driver, exterior deck screws and a hammer
- Broom, putty knife and a leaf blower
- Oxygen-bleach (sodium percarbonate) deck cleaner
- Oxalic acid deck brightener
- Stiff synthetic-bristle deck brush on a pole
- Garden hose with a spray nozzle; a pressure washer is optional
- Pump sprayer for cleaner and brightener
- Plastic sheeting and painter’s tape to protect siding and plants
- Exterior penetrating deck stain or sealer
- Stain pad applicator, 3–4 inch brush and a roller tray
- Rubber gloves, safety glasses and old clothes
Step 1: Inspect before you clean
Treat this like a safety check, not just a cosmetic one.
- Probe for rot. Push a screwdriver into boards, joists and posts, especially where they stay wet: near the house, around stair stringers and at the bottom of posts. If the tip sinks in easily or the wood feels spongy, that piece needs replacing.
- Check the ledger. The ledger board is where the deck attaches to the house. It should be bolted or lagged to the house framing (not just nailed) and have flashing above it to shed water. Rust streaks, a gap opening up, or rot here are serious.
- Tighten fasteners. Hammer down popped nails or, better, replace them with exterior deck screws. Check railing posts by pushing on them hard; a railing should not move.
- Look at the hardware. Joist hangers and connectors should be intact and not heavily rusted.
If you find structural problems, fix those before spending money on stain.
Step 2: Pick your weather window
Stain needs dry wood and dry weather. In the St. Louis area, the best windows are usually mid-spring and early fall, when days are in the 50s to 80s. Look for a stretch with no rain for at least 24–48 hours after application, and check the stain label for temperature limits. Avoid staining in direct midday sun in July or August; the stain dries too fast and laps show. Early morning shade or late afternoon works better.
Step 3: Clean the deck
- Prep the area. Clear everything off the deck, sweep, and clean the gaps between boards with a putty knife so water can drain. Wet down nearby plants and cover them, and tape plastic over siding and door thresholds.
- Apply the cleaner. Mix oxygen-bleach cleaner per the label, spray it on a section, and let it sit 10–15 minutes while keeping it wet. Avoid chlorine bleach; it can damage wood fibers and corrode fasteners.
- Scrub. Work the boards with a stiff brush, following the grain.
- Rinse thoroughly. A garden hose is enough for most decks.
A word about pressure washers: they can save time, but they’re the number one way homeowners damage decks. Too much pressure or too close a tip raises fuzzy fibers, etches grooves and drives water deep into the wood. If you use one, stay at roughly 500–1,200 psi for softwoods like pressure-treated pine and cedar, use a 25- or 40-degree fan tip, keep it 12 inches or more from the surface and move with the grain. Never use a zero-degree tip.
Step 4: Brighten the wood
Cleaners are alkaline and can leave wood looking dark or blotchy. An oxalic acid brightener neutralizes the cleaner, removes tannin and rust stains, and opens the grain so stain soaks in evenly. Apply it to the damp deck, let it work per the label, scrub lightly and rinse well.
Step 5: Let it dry and do the water test
Wood must be dry before you stain it, usually 24–48 hours of good weather after rinsing. Then do the water test: sprinkle a few drops on the boards. If the water soaks in within a minute or so, the wood is ready to accept stain. If it beads up, the wood is still wet or there’s old sealer on the surface that needs more cleaning. New pressure-treated lumber often needs to weather for a few months before it passes this test.
Step 6: Choose and apply the finish
Deck finishes fall into a few categories:
- Clear sealers repel water but offer little UV protection; the wood will still gray. Expect to reapply every year.
- Semi-transparent stains add pigment that blocks UV while letting the grain show. This is the best balance for most St. Louis decks and typically lasts two to three years on horizontal surfaces.
- Solid stains look more like paint and hide imperfections, but they can peel on walking surfaces and are much harder to strip later.
Apply with a stain pad or brush, working two or three boards at a time along their full length to avoid lap marks. Brush stain into the gaps and the end grain, which soaks up the most water. Apply a thin coat; puddles and heavy film peel. Many penetrating stains call for a second coat applied wet-on-wet, so read the can. Do railings and balusters first, then the floor, working toward the stairs so you don’t paint yourself in.
Safety note: Rags soaked in oil-based stain can spontaneously combust as they dry. Lay them flat outdoors to dry, or put them in a sealed metal container filled with water, then dispose of them according to local rules.
Mistakes to avoid
- Staining over a dirty or gray deck. The stain won’t bond and the gray shows through.
- Putting on too much. Wipe up puddles; excess stain stays tacky and peels.
- Staining before rain or in full sun.
- Skipping the inspection. A fresh coat of stain on a rotten ledger is still a rotten ledger.
- Sanding old painted railings without precautions if your home was built before 1978, since older paint can contain lead.
When to call a pro
Cleaning and staining is very doable. Get a professional opinion when you find:
- Soft or rotted joists, posts, stair stringers or ledger board
- A deck that sways, bounces or pulls away from the house
- Railings that move or are lower than about 36 inches, or balusters spaced wide enough for a child to slip through
- Widespread split, cupped or splintering boards that won’t take stain
Sometimes the smartest move is new decking on sound framing, or a full rebuild in composite that never needs stain. Our deck and outdoor living team builds and rebuilds wood and composite decks, railings and stairs across the St. Louis metro.
Rather have it done for you? RossBuilt Construction serves the St. Louis metro. Request a free estimate or call 636-380-2574.