
DIY Tips & Tutorials
How to Install Baseboard and Quarter-Round Trim
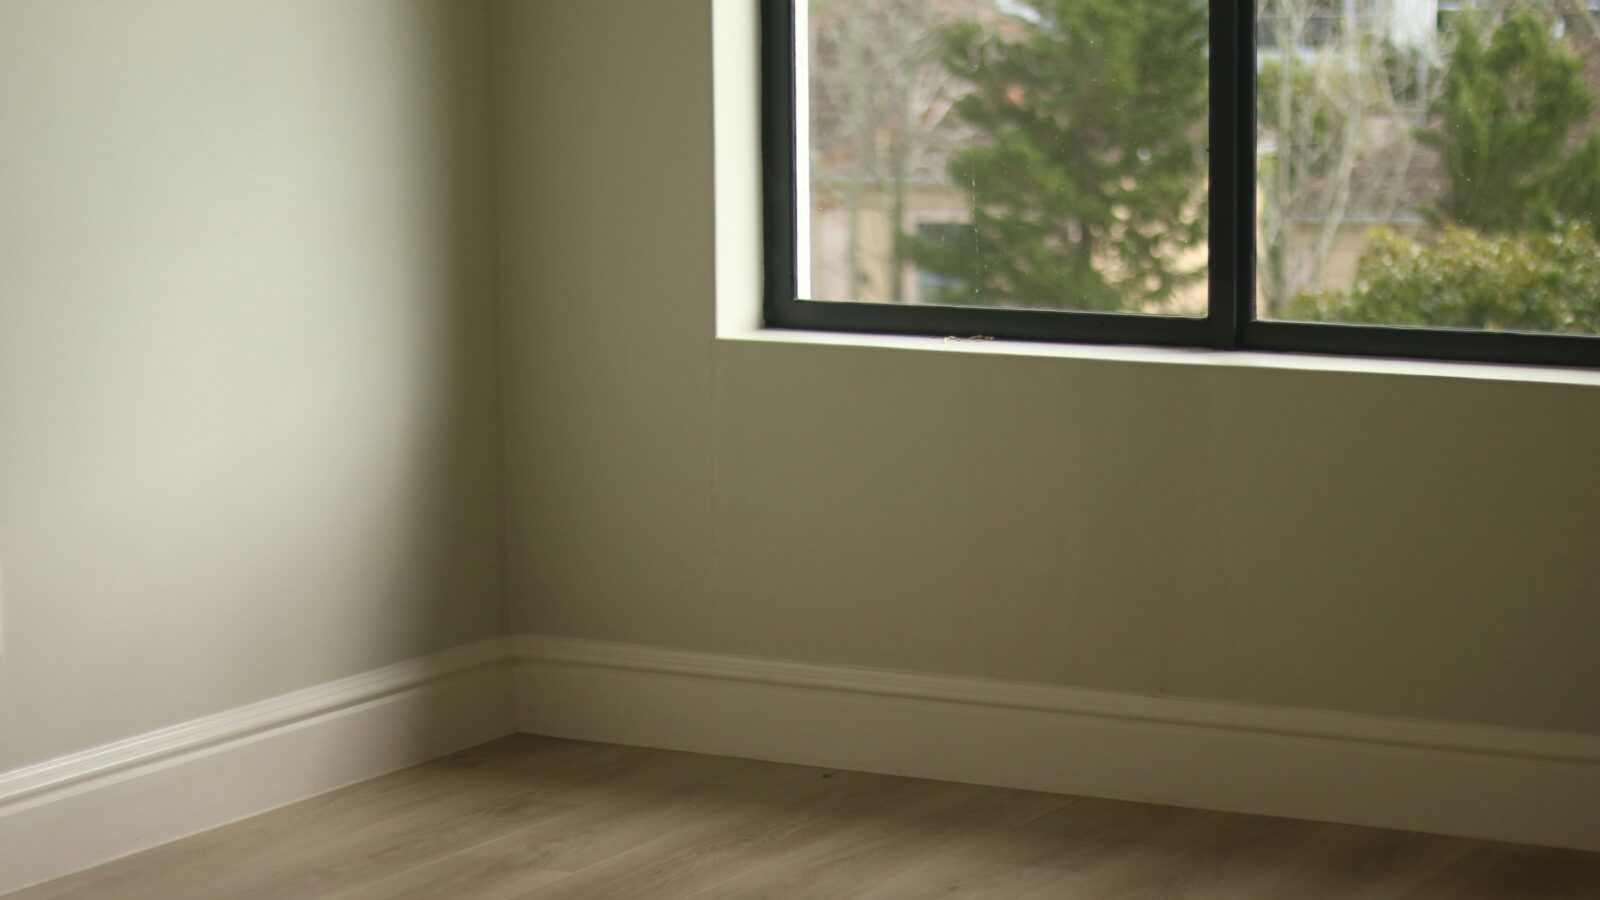
Baseboard trim covers the gap between your floor and the wall, protects drywall from vacuums and shoes, and gives a room a finished look. Quarter round (or shoe molding) is the small rounded trim that sits at the bottom of the baseboard and hides the expansion gap left around floating floors like laminate and luxury vinyl plank. If you’ve just put in new flooring or you’re refreshing a room, installing trim is a satisfying project that takes patience more than special skill.
Difficulty: Intermediate · Time: 1 day for an average room, plus paint time
Tools and materials
- Baseboard and quarter-round or shoe molding (buy 10 to 15 percent extra)
- Miter saw (a 10- or 12-inch compound miter saw is ideal)
- Coping saw and a few fine-tooth blades, plus a small file or rasp
- Tape measure, pencil, and a combination square or angle finder
- Stud finder
- Brad nailer (18-gauge) or finish nailer (15- or 16-gauge) with compressor, or a hammer and nail set
- Finish nails in suitable lengths (often 2 inches for baseboard into studs, 1.25 inches for quarter round)
- Wood glue for outside corners and scarf joints
- Paintable caulk, wood filler or spackle, and a putty knife
- Primer and semi-gloss or satin trim paint
- Safety glasses and hearing protection
Step-by-step
- Prep the room. Remove old trim carefully with a pry bar and a putty knife to protect the wall. Pull leftover nails through the back of any trim you plan to reuse. In homes built before 1978, painted trim could contain lead; avoid sanding old paint and follow lead-safe practices.
- Mark the studs. Use a stud finder and mark each stud with a light pencil line just above where the top of the baseboard will land. Nailing into studs (and into the bottom wall plate) is what keeps baseboard tight to the wall.
- Prime or paint first (optional but smart). Painting trim before installing is much faster than cutting in along the wall and floor later. You’ll only need to touch up nail holes, caulk lines and joints afterward.
- Plan the order. Start on the wall opposite the door, so the most visible joints face away from the entry. A common sequence: the first wall gets square-cut ends that butt into both corners, then each following piece is coped on one end to fit against the previous piece.
- Measure carefully. Measure along the floor, wall to wall, for inside corners. For outside corners, measure to the corner and mark the trim in place when possible, which is more accurate than tape math. Cut pieces a hair long (1/16 inch) on inside runs and spring them into place for a tight fit.
- Cope inside corners. Walls are rarely exactly 90 degrees, so mitered inside corners tend to open up. Coping gives a tight joint. Cut the end of the trim at a 45-degree inside miter, which exposes the profile. Then use the coping saw to cut along that profile line, angling the saw back slightly (back-cutting) to remove material behind the face. File it smooth. The coped end now fits over the face of the adjoining piece like a puzzle piece.
- Miter outside corners. Outside corners get two 45-degree miters. Check the real angle with an angle finder; if the corner is 92 degrees, cut each piece at 46. Glue the joint and pin it together with a brad through the corner.
- Use scarf joints on long walls. When a wall is longer than your trim, join two pieces with matching 45-degree bevels (a scarf joint) over a stud, with glue. It hides seasonal movement much better than a square butt joint.
- Nail it up. Hold the baseboard tight to the wall and drive one nail low into the bottom plate and one higher into each stud. Keep nails at least an inch from ends to avoid splitting.
- Install quarter round. Quarter round goes on after the baseboard. Nail it into the baseboard, not the floor. Floating floors need to move, and nailing through the trim into a floating floor pins it and can cause buckling. Use the same coping and mitering approach at corners. Where it meets door casing, a small return or a simple 45-degree end cut finishes it neatly.
Caulk, fill and paint
- Fill nail holes. Press wood filler or lightweight spackle into each nail hole with a putty knife or your finger, slightly overfilled. Sand flush once dry.
- Caulk the top edge. Run a thin bead of paintable caulk along the top of the baseboard where it meets the wall, and in any small gaps at corners or joints. Smooth it with a damp finger or rag. Don’t caulk the bottom of quarter round to a floating floor if the flooring maker advises against it.
- Paint. Use a semi-gloss or satin trim paint, which wipes clean and resists scuffs. Tape the floor or use a paint shield, and apply two thin coats.
Mistakes to avoid
- Mitering inside corners. They look fine on day one and open up as the house moves. Cope them.
- Nailing into a floating floor. Quarter round should be fastened to the baseboard, never the flooring.
- Missing the studs. Nails into drywall alone won’t hold, and the trim will pull away over time.
- Butt-joining long runs. A square joint opens up into a visible gap. Use a glued scarf joint.
- Cutting to the exact measurement on inside runs. A slightly long piece sprung into place gives a tight fit; short pieces leave gaps.
- Letting the trim acclimate too little. Bring trim into the house a few days before installing so it adjusts to indoor humidity, which swings quite a bit in St. Louis between summer and winter.
When to call a pro
Trim is a great DIY job in a room with reasonably flat walls and floors. It gets harder when walls are badly wavy, floors are out of level enough to leave big gaps under the baseboard, or you’re matching tall historic trim profiles common in older St. Louis homes. It’s also worth planning trim alongside any new floor, since baseboard often has to come off for the install anyway. RossBuilt installs flooring with trim and quarter round as part of the job, and we handle finish carpentry as part of our interior remodeling work.
Rather have it done for you? RossBuilt Construction serves the St. Louis metro. Request a free estimate or call 636-380-2574.