
DIY Tips & Tutorials
How to Replace a Damaged Luxury Vinyl Plank
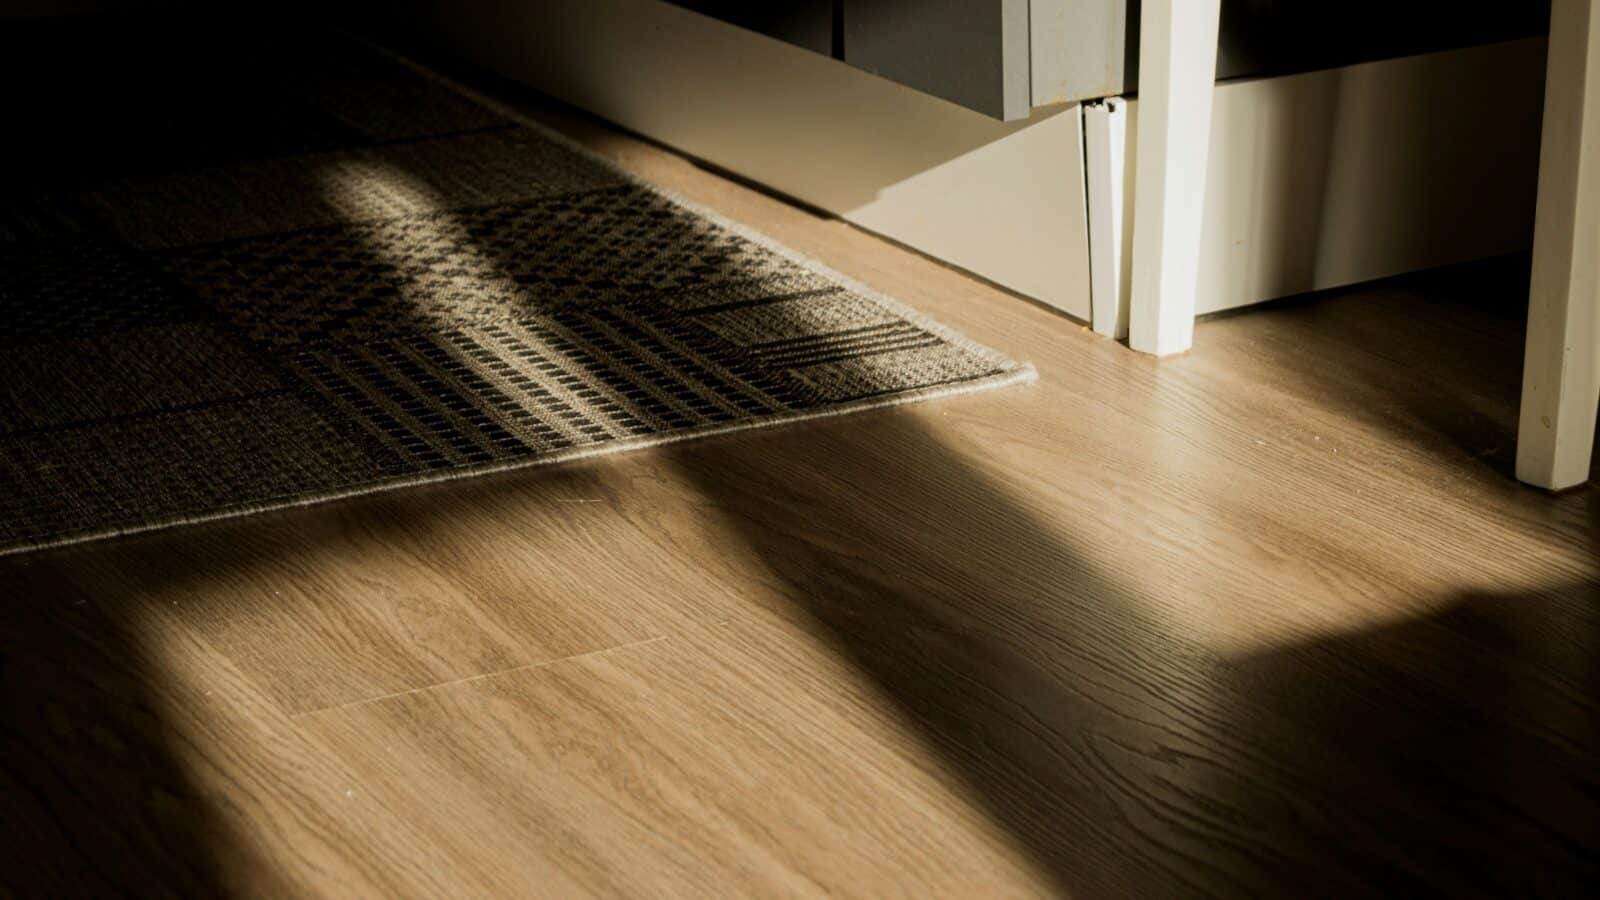
Luxury vinyl plank (LVP) is tough, waterproof and forgiving, which is why it shows up in so many St. Louis kitchens, basements and rentals. It isn’t indestructible, though. A dropped cast-iron pan, a dragged appliance or a pet’s claws can gouge a plank badly enough that it needs to go. One of the best features of LVP is that a single damaged plank can be replaced without tearing out the whole floor. How you do it depends on whether your floor is a floating click-lock floor or a glue-down floor, and how far the bad plank is from a wall.
Difficulty: Intermediate · Time: 1–3 hours per plank
First, find a replacement plank
This is the step that trips most people up. LVP patterns and colors change from production run to run, and product lines get discontinued. Check the garage, basement or attic for leftover boxes from the original install. If you’re installing a new floor, buy one extra box beyond the usual waste allowance and store it flat, indoors, with the label showing the product name and lot number. If there are no spares, you can sometimes borrow a plank from inside a closet or under an appliance and put the damaged one there instead.
Let the new plank acclimate in the room for at least 24 hours, or as the manufacturer recommends, so it matches the size and temperature of the floor around it.
Tools and materials
- Replacement plank (same product and ideally the same lot)
- Utility knife with plenty of fresh blades
- Straightedge or speed square
- Oscillating multi-tool with a flush-cut or scraper blade (optional but helpful)
- Painter’s tape
- Pry bar and a flat bar, plus a scrap block to protect walls
- Tapping block and rubber mallet
- For the cut-out method: vinyl seam adhesive or a two-part epoxy recommended for vinyl, plus weights such as a stack of books
- For glue-down floors: a heat gun or hair dryer, a stiff putty knife and the flooring manufacturer’s recommended adhesive
- Knee pads, safety glasses and gloves
Method 1: Work in from the wall (floating click-lock floors)
If the damaged plank is within a few rows of a wall, this is the cleanest fix because every plank goes back together exactly as designed.
- Remove the trim. Pull the baseboard or quarter round along the nearest wall that runs parallel to the damaged row. Score the caulk line first and use a scrap block behind your pry bar so you don’t dent the drywall. Number the pieces on the back so they go back in the same order.
- Unclick the rows. Lift the edge of the row against the wall to about a 30-degree angle and the long joint will release. Most planks also need to be slid apart along the short end joints. Work slowly; forcing a locked joint will snap the tongue.
- Stack planks in order. Lay them out in the order you removed them, face up, so they go back exactly the same way.
- Swap the damaged plank. Set it aside, check that the underlayment is intact and the subfloor below is dry and flat, and click the new plank into place.
- Reassemble. Reinstall rows in reverse order, angling each long edge into the previous row and tapping the end joints closed with a tapping block. Make sure the floor still has its expansion gap at the wall (usually about 1/4 inch) before you reinstall the trim.
Method 2: Cut out the plank (middle of the room)
When the damage is in the middle of a large room, taking up half the floor to reach one plank doesn’t make sense. The cut-out method sacrifices the damaged plank and glues in a modified replacement.
- Tape around it. Run painter’s tape along the neighboring planks to protect them from your knife.
- Cut the center out. With a straightedge and utility knife, score a rectangle about an inch inside the edges of the damaged plank, then score diagonal lines from corner to corner. Make many light passes rather than one deep one. An oscillating tool speeds this up, but set the depth carefully so you don’t cut the underlayment or subfloor.
- Remove the pieces. Lift out the center, then carefully work the edge strips free of the surrounding tongues and grooves. Don’t pry against the neighboring planks.
- Trim the new plank. On the replacement, cut off the bottom lip of the groove on the long side and one short side, and the tongue on the opposite edges as the manufacturer’s repair instructions direct. The goal is a plank that can drop straight down into the opening and rest on the neighboring tongues.
- Dry-fit, then glue. Test the fit. Then apply a thin bead of the recommended vinyl seam adhesive or epoxy along the cut edges, lower the plank in, press it flat and wipe any squeeze-out right away.
- Weight it down. Set books or a flat board with weight on top over the plank for the full cure time on the adhesive, usually 24 hours. Keep foot traffic off it.
Done carefully, the repair is hard to spot. It does lock that plank in place, so the floor around it can’t move quite as freely; on a large floating floor, one glued plank won’t cause problems.
Glue-down LVP
Some LVP is glued directly to the subfloor or concrete. To replace one plank, warm it with a heat gun or hair dryer on medium to soften the adhesive, cut it with a utility knife and pry it out in pieces with a stiff putty knife. Scrape the old adhesive flat, apply the manufacturer’s recommended adhesive, set the new plank and roll or weight it. Be careful with heat near the neighboring planks; vinyl can scorch or warp.
One caution: if your home is older and you find another layer of vinyl or tile below the planks, don’t sand or scrape it. Some older sheet vinyl, floor tiles and black mastic adhesives contain asbestos. Leave old layers alone or have a sample tested.
Mistakes to avoid
- Skipping acclimation. A cold plank from the garage can expand once it warms up and buckle the repair.
- Pinning a floating floor. Don’t nail or screw through LVP or let the trim pin it down. Floating floors need to move.
- Ignoring the cause. If a plank is lifting or swelling, check for a leak or moisture from a slab before replacing it.
- Breaking the locking edges. Angle, don’t pry. Snapped tongues mean more planks to replace.
When to call a pro
Single-plank swaps are a fair weekend project. It’s time to bring in help when:
- Several areas of the floor are peaking, separating or buckling
- The floor feels soft or spongy, which can mean subfloor damage
- There’s been a water leak from a dishwasher, fridge line or toilet
- No matching planks are available and a larger section needs to be redone
Our flooring installers can repair the subfloor, match or replace the floor, and lay out new LVP so transitions and doorways look intentional. If water damage came from a kitchen or bath, we can look at the source as part of a kitchen or bath project.
Rather have it done for you? RossBuilt Construction serves the St. Louis metro. Request a free estimate or call 636-380-2574.