
DIY Tips & Tutorials
How to Patch Drywall Holes, From Nail Pops to Big Dents
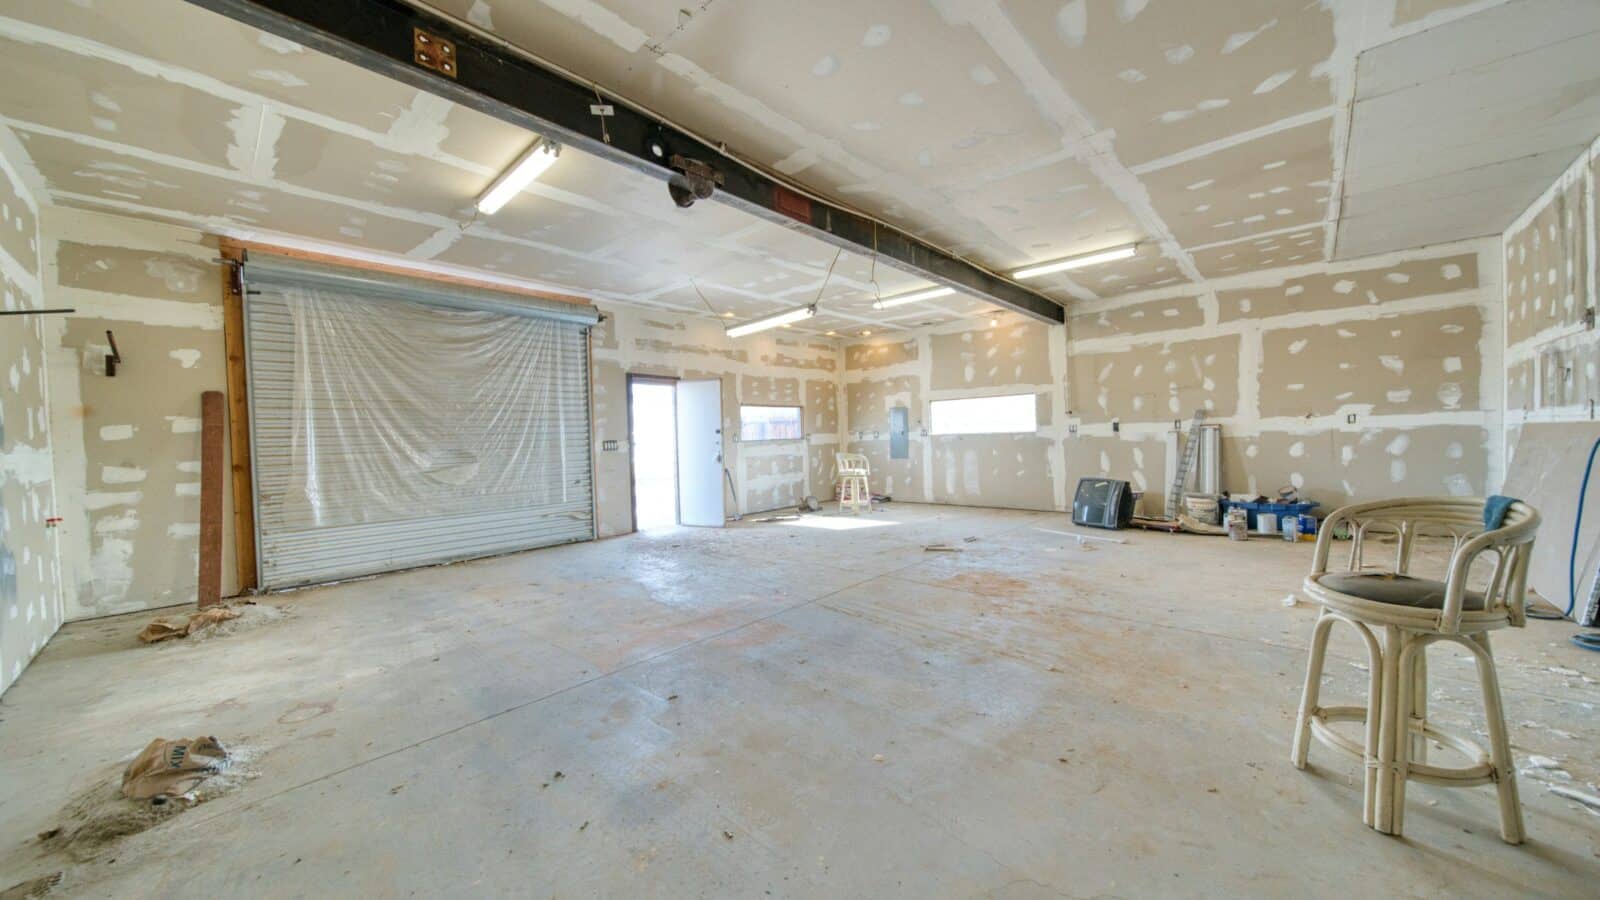
Every house collects drywall damage: a doorknob that swung too hard, a nail pop over the stairs, anchor holes left from an old TV mount. The good news is that drywall is one of the most forgiving materials in a home. With a few inexpensive tools and some patience between coats, you can make most holes disappear so well that nobody will find them once the wall is painted. The secret is not the patch itself. It’s the feathering, the sanding and the primer.
Difficulty: Beginner to intermediate · Time: 1–2 hours of work, spread over a day or two for drying
Tools and materials
- Utility knife with fresh blades
- Putty knives: a 2–3 inch and a 6 inch, plus a 10 or 12 inch taping knife for larger patches
- Lightweight spackle for small holes
- Pre-mixed all-purpose or lightweight joint compound for larger repairs (or a setting-type “hot mud” powder like a 20- or 45-minute mix if you want to work faster)
- Self-adhesive mesh patches (sized for doorknob holes) or a scrap of drywall matching your wall thickness, usually 1/2 inch
- Paper or fiberglass mesh tape
- Drywall saw (jab saw) and a straightedge
- 1-1/4 inch drywall screws and a drill/driver
- Sanding sponge (fine/medium) or 120–150 grit sandpaper on a block
- Stain-blocking or PVA drywall primer
- Spray texture can (orange peel or knockdown) if your walls are textured
- Dust mask, safety glasses and a drop cloth
Before you start: safety
If your home was built before 1978, the paint on those walls may contain lead. Sanding and scraping lead paint releases dust that is dangerous, especially for children and pregnant women. Test the paint with an EPA-recognized lead test kit before you sand, and if it tests positive, use wet-sanding methods and lead-safe practices or bring in a certified renovator. Many older St. Louis homes, especially in the city, also have plaster walls rather than drywall. Plaster repairs follow different rules, so confirm what you have before you cut.
Before cutting into any wall, think about what’s behind it. Wires and pipes often run straight up and down from outlets, switches and fixtures. Cut shallow, and turn off the circuit if you’re working near an outlet.
Step-by-step: nail pops
- Reset the drywall. Press the wall tight to the stud and drive a new drywall screw about 1-1/2 inches above or below the popped nail, just deep enough to dimple the paper without tearing it.
- Deal with the old nail. Either drive it back in with a nail set or pull it out. Scrape away any loose paint or compound around it.
- Fill and feather. Cover both the screw head and the nail hole with spackle or joint compound, scraping it flush. Apply a second thin coat after it dries, a little wider than the first.
- Sand, prime and paint. Sand lightly, wipe off the dust, prime the spot, then paint.
Step-by-step: small holes (up to about 1/2 inch)
- Clean up the hole. Trim any torn paper or fuzz with a utility knife. Raised edges will show through the patch.
- Fill with spackle. Press lightweight spackle into the hole with a small putty knife, then scrape across it at a low angle so it’s level with the wall.
- Let it dry and recoat if needed. Spackle shrinks a little as it dries. A second thin coat fills the dip.
- Sand and prime. A few light passes with a fine sanding sponge, then spot-prime. Skipping primer is the most common reason patches “flash,” meaning they show up as a dull or shiny spot after painting.
Step-by-step: doorknob-size holes (2–6 inches)
- Square up the damage. Trim loose paper and crumbled gypsum so the edges are solid.
- Apply a mesh patch. Center a self-adhesive metal or fiberglass patch over the hole and press it flat. Choose a patch that overlaps solid drywall by at least an inch on all sides.
- First coat. Spread joint compound over the patch with a 6 inch knife, pressing it through the mesh. Keep it thin. Thick coats crack and take forever to dry.
- Feather the edges. Each following coat goes 2–3 inches wider than the last. A patch on a flat wall can easily end up 12–14 inches across when finished. That width is what makes the slight bump of the patch invisible.
- Sand between coats only as needed to knock down ridges, then do a final light sand once you have two or three coats on.
Step-by-step: larger holes (the “California” or backer patch)
For holes bigger than about 6 inches, you need real drywall in the opening. There are two common methods.
Backer method: Cut the damaged area into a neat rectangle with a drywall saw. Slip one or two strips of 1×3 lumber or plywood inside the wall, behind the edges of the opening, and screw through the drywall into them. Cut a piece of drywall to fit the opening, screw it to the backers, then tape the seams with mesh or paper tape and finish with three thin, progressively wider coats.
California patch (butterfly patch): Cut a drywall piece about 2 inches larger than the opening on every side. On the back, score and snap off the gypsum around the edges, leaving the face paper intact as a flange. Fit the gypsum core into the opening, bed the paper flange in a thin layer of joint compound, smooth it flat, then finish with two more wider coats. It’s fast and needs no backer for holes up to about 8 inches.
Matching texture
Many St. Louis-area homes built from the 1980s on have orange peel or knockdown texture. A smooth patch on a textured wall stands out even after painting. Practice spray texture on a piece of cardboard first, adjust the nozzle, and apply light coats. You can always add more. For knockdown, let the spatter set for a few minutes, then flatten the peaks gently with a wide knife. Prime after the texture dries.
Mistakes to avoid
- Piling on thick coats. Three thin coats beat one thick one every time.
- Over-sanding. Sanding through to the paper face creates a fuzzy surface. If that happens, seal it with primer and skim it again.
- Skipping primer. Joint compound absorbs paint differently than painted wall. Prime, then paint the whole wall or at least corner to corner if the old paint has faded.
- Keeping the patch too narrow. A small, hard-edged patch is easy to see in raking light from a window. Feather wide.
- Painting too soon. Compound can look dry on the surface while still wet underneath, especially in humid summer weather. Give it the full drying time on the bucket.
When to call a pro
Patching is a great DIY project, but some damage is a sign of a bigger issue. Call a contractor if you see water stains, soft or crumbling drywall, or mold, because the leak has to be found and fixed first. Long diagonal cracks running from the corners of doors and windows can point to settling or structural movement. Large areas of damage, sagging ceilings and full rooms of cracked plaster are also worth a professional look. RossBuilt handles drywall and plaster repair as part of our interior remodeling services, and if the cause is a roof or window leak, we can trace and fix that too through our storm damage and repair work.
Rather have it done for you? RossBuilt Construction serves the St. Louis metro. Request a free estimate or call 636-380-2574.