
DIY Tips & Tutorials
How to Fix a Running Toilet: Flapper, Chain and Fill Valve
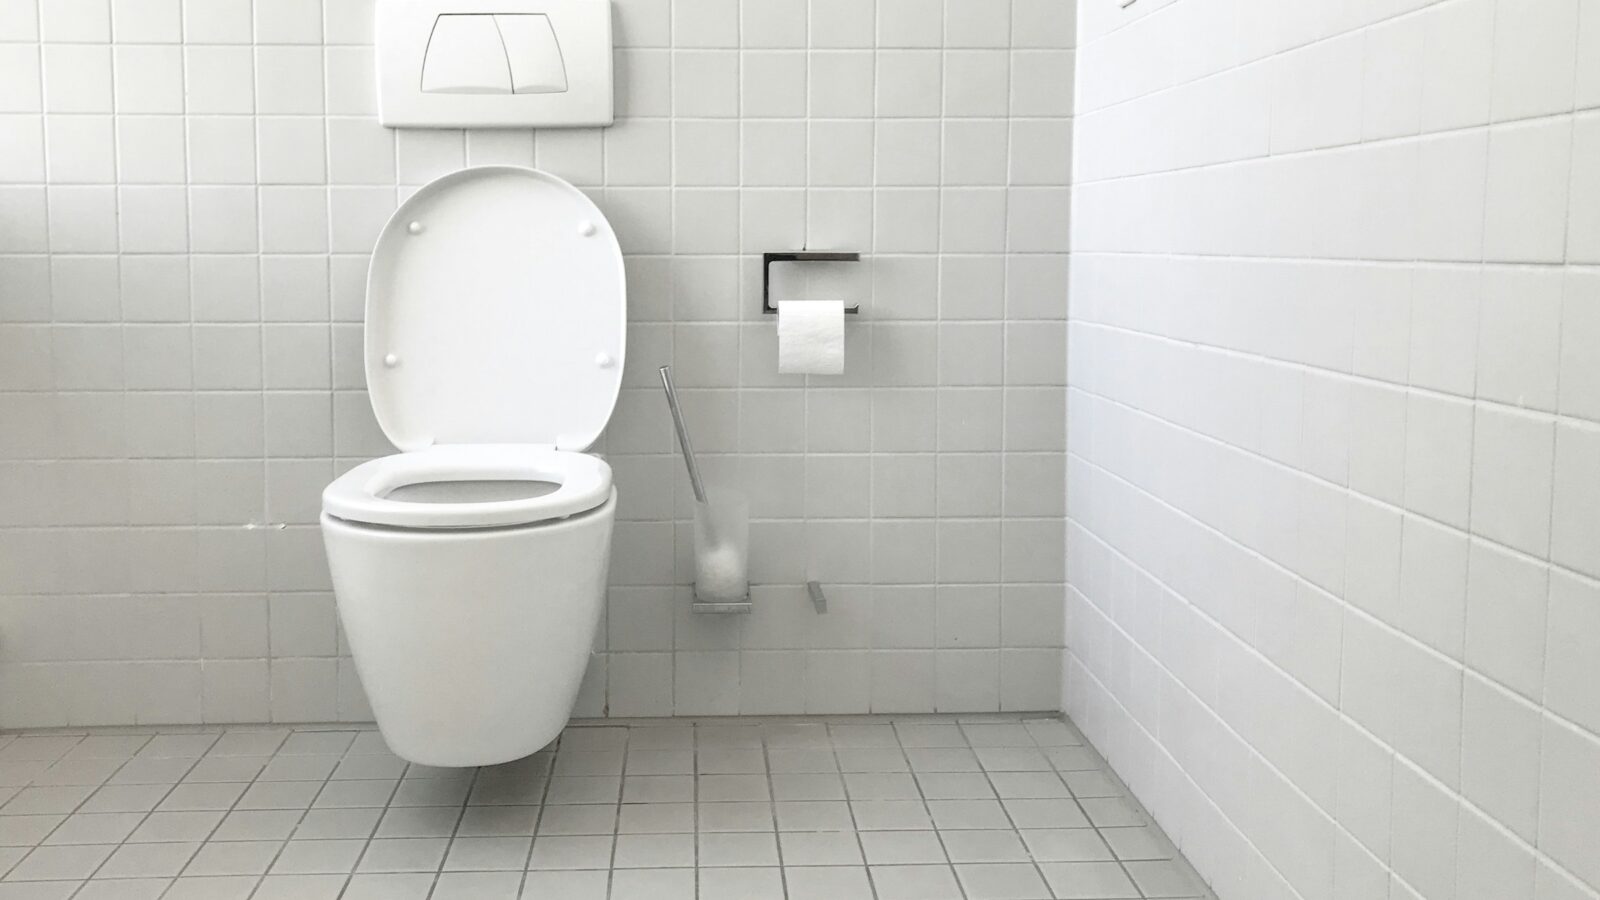
A toilet that runs, refills on its own in the middle of the night, or hisses quietly for minutes after a flush is wasting water around the clock. A badly leaking flapper can send hundreds of gallons a day down the drain, and you pay for it on both the water and sewer side of the bill. The good news: nearly every running toilet comes down to a handful of inexpensive parts inside the tank, and you can diagnose and fix it yourself in under an hour without any special plumbing skills.
Difficulty: Beginner · Time: 15 minutes to 1 hour
How a toilet tank works
Lift the tank lid and you’ll see two main parts. The flapper is the rubber seal at the bottom of the tank that lifts when you flush and drops to hold water in the tank. The fill valve is the tall assembly on the left (usually) that refills the tank after a flush and shuts off when a float rises to the set level. Between them is the overflow tube, the open pipe in the middle that keeps the tank from overflowing onto the floor. Almost every running toilet is caused by water leaking past the flapper, or by the fill valve letting the water level rise high enough to spill into the overflow tube.
Tools and materials
- Food coloring or toilet dye tablets
- Replacement flapper (2 inch or 3 inch; check the size of your flush valve opening)
- Universal fill valve kit, if needed
- Adjustable wrench or channel-lock pliers
- Sponge, towel and a small bucket
- Rubber gloves
- Fine abrasive pad or emery cloth for cleaning the flush valve seat
Step 1: Find out what’s leaking
- Check the water level. Remove the tank lid and watch after a flush. If water keeps rising until it spills into the overflow tube, the fill valve or float is set too high or failing. The correct level is usually marked on the inside of the tank or on the overflow tube, typically about an inch below the top of the overflow.
- Do the dye test. If the water is not spilling into the overflow, add a few drops of food coloring to the tank. Don’t flush. Wait 15–20 minutes. If color shows up in the bowl, water is leaking past the flapper. This also catches the “silent leak” that never makes noise but slowly drains the tank so the toilet refills every so often.
Step 2: Fix the flapper and chain
- Check the chain length. A chain that is too short holds the flapper slightly open; one that is too long can get caught under the flapper. You want about 1/2 inch of slack when the flapper is closed.
- Look for a warped or hardened flapper. Chlorine and in-tank cleaning tablets break down rubber over time. If the flapper feels stiff, warped or slimy and leaves black residue on your fingers, replace it.
- Shut off the water. Turn the supply valve behind the toilet clockwise until it stops. Flush to empty the tank, and sponge out what remains.
- Clean the valve seat. Wipe the rim of the flush valve opening and gently scrub off mineral buildup with a fine abrasive pad. A rough seat will make even a new flapper leak.
- Install the new flapper. Unhook the old one from the pegs on the overflow tube (or slide it off if it uses a ring), attach the new one the same way, and clip the chain to the flush lever arm with that 1/2 inch of slack.
- Turn the water back on and test. Do the dye test again to confirm the leak is gone.
Step 3: Adjust the fill valve
If water flows into the overflow tube, lower the water level:
- Float cup style (the most common modern design): squeeze the clip or turn the adjustment screw on top of the valve to slide the float down the shaft.
- Older ball float on a metal or plastic arm: turn the adjustment screw where the arm meets the valve, or very gently bend a brass arm downward so the ball shuts the valve sooner.
Also check the small refill tube that clips onto the overflow pipe. Its end should be clipped above the water line, not pushed down inside the overflow tube where it can siphon water continuously.
Step 4: Replace a failing fill valve
If the water level is correct but the valve keeps hissing, cycles on and off, or won’t shut off fully, the valve is worn out. A universal replacement fits most toilets.
- Shut off the water and drain the tank. Sponge out the last bit of water.
- Disconnect the supply line. Put a towel and bucket under the tank and loosen the coupling nut under the tank where the supply line connects.
- Remove the old valve. Unscrew the large locknut on the underside of the tank and lift the old valve out.
- Set the height. Adjust the new valve’s height so the critical level mark sits at least an inch above the top of the overflow tube, per the instructions.
- Install and tighten. Set the valve in the hole with its gasket, thread on the locknut and hand-tighten, then snug it a quarter turn with pliers. Overtightening can crack a porcelain tank.
- Reconnect and test. Reattach the supply line, clip the refill tube to the overflow, turn on the water slowly and check for drips under the tank. Set the float to the proper water level.
Mistakes to avoid
- Overtightening plastic nuts. Hand-tight plus a little is enough. Cracked tanks and stripped nuts cause bigger leaks than the one you were fixing.
- Buying the wrong flapper. Many newer toilets use a 3 inch flush valve or a proprietary canister design. Check the brand and model, usually stamped inside the tank behind the water line.
- Using in-tank bleach tablets. They shorten the life of rubber parts.
- Ignoring the shutoff valve. Old multi-turn valves can seize or start leaking at the stem when you finally turn them. If yours won’t budge or drips afterward, it should be replaced.
When to call a pro
Inside-the-tank repairs are DIY territory. Call for help if water is leaking at the base of the toilet onto the floor, the floor around the toilet feels soft or spongy, the tank or bowl is cracked, or the shutoff valve or supply pipe is corroded. A soft floor usually means a long-term wax ring leak has damaged the subfloor, and that should be opened up and repaired properly before it spreads. RossBuilt repairs subfloors and handles full bathroom updates through our kitchen and bath remodeling services, and we replace water-damaged floors through our flooring services.
Rather have it done for you? RossBuilt Construction serves the St. Louis metro. Request a free estimate or call 636-380-2574.